If you run a fashion store on Shopify, you know the struggle. You have great traffic and beautiful products, but customers hesitate. They stare at the "Add to Cart" button and ask the dreaded questions: "Will this fit me?" and "Will this look good on my body type?"
In the past, adding a Virtual Try-On (VTO) solution to answer these questions was a massive project. It required expensive 3D modeling for every single SKU and weeks of integration time.
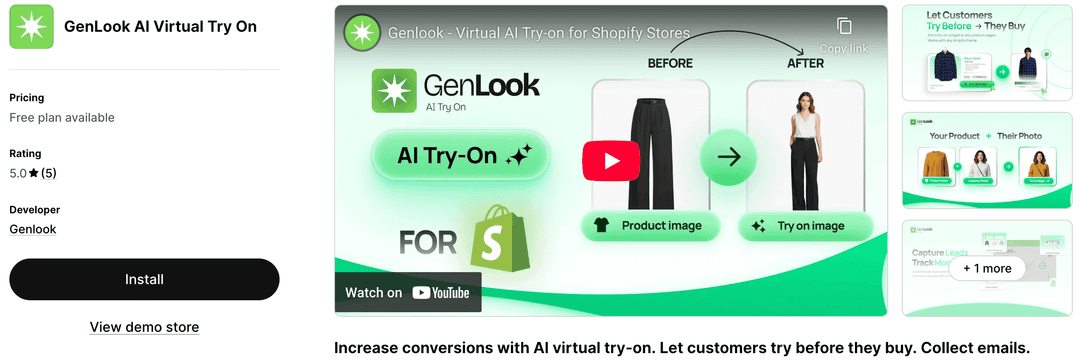
In 2026, that changed with Genlook.
Genlook allows you to add AI-powered virtual try-on to your store using the photos you already have. There are no 3D assets required, and you can be up and running in less than an hour.
Here is the definitive 5-step guide to upgrading your Shopify store with Genlook today.
The Genlook Advantage Before You Start
Unlike competitors that require rigid, standardized studio photography for every item, Genlook's Generative AI is designed for real-world e-commerce. It works with your existing high-quality product images (whether they are flat lays, hanging shots, or on models), saving you thousands in photography costs.
Step 1: Install the Genlook App
The first step is getting the technology onto your platform.
- Navigate to the Shopify App Store and search for Genlook, or click here to go directly to the listing.
- Click the Install button.
- Review the necessary permissions (we need access to read your product images to generate the try-on experience) and click Approve.
- You will be redirected to the Genlook dashboard within your Shopify Admin.
Step 2: Enable Genlook on Your Products
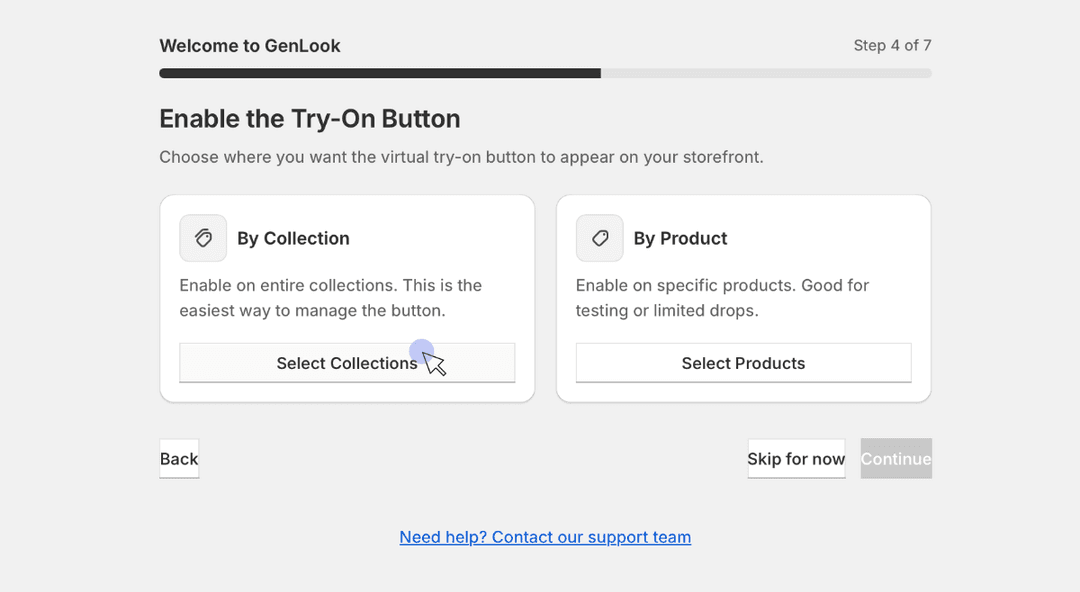
Once installed, Genlook needs to know which products should have the "Try-On" feature enabled. You have full control over this.
In the Genlook dashboard:
- Navigate to the Products or Collections tab.
- You can select individual items to enable, or select entire collections (e.g., "New Arrivals" or "Dresses").
- Toggle the status to Enabled.
Pro Tip: You don't need to enable your entire catalog on day one. We recommend starting with your highest-traffic items that suffer from lower conversion rates. These are the products where VTO makes the biggest immediate impact.
Step 3: Add and Configure the Button in Your Theme
Now that the backend is ready, you need to place the "Try-On" button on your product pages so customers can see it. Genlook is built for Shopify Online Store 2.0, making this drag-and-drop easy.
- From your Shopify Admin, go to Online Store > Themes.
- Click Customize on your current live theme.
- At the top center dropdown, select Products and then your Default product template.
- On the left-hand sidebar menu, look for the "Product Information" section. Click + Add Block.
- Scroll down to the "Apps" section and select the Genlook Try-On Button.
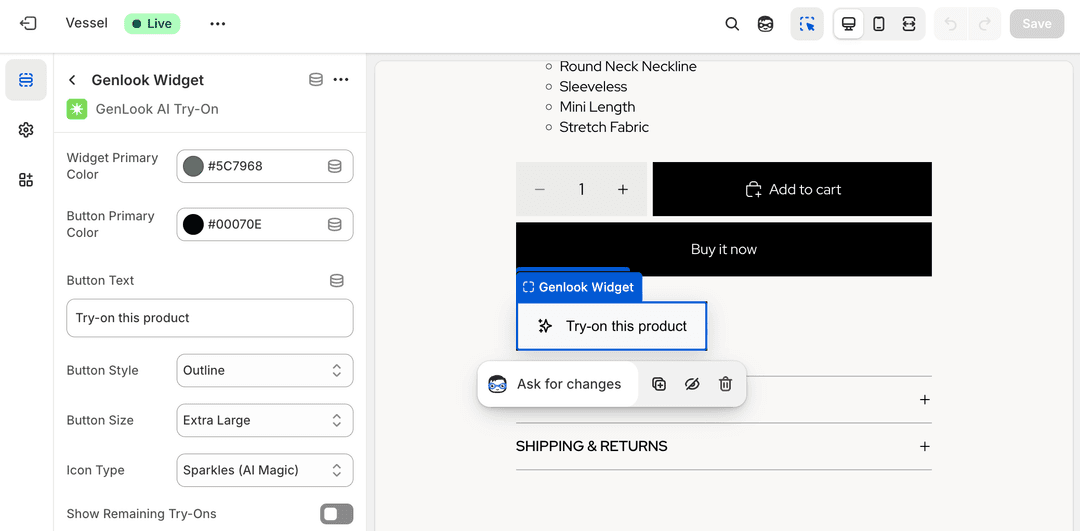
- Position it: Drag the block up so it sits right below your "Add to Cart" or "Buy Now" button for maximum visibility.
- Style it: Click on the Genlook block itself. On the right-hand menu, you can now customize the button text (e.g., "Try On," "See it on Me"), background colors, and text colors to perfectly match your brand identity.
Step 4: Test the Experience Live
Never assume it works until you try it yourself.
- Open a new browser tab or grab your smartphone and navigate to your live online store.
- Go to one of the products you enabled in Step 2.
- Ensure the new "Try-On" button appears where you placed it.
- Click the button. Upload a photo of yourself (or use a model photo) and test the generation process. Does the garment drape correctly? Is the speed satisfactory?
If it looks good to you, it's ready for your customers.
Step 5: Consult Your Stats After a Day
The beauty of VTO isn't just the cool factor; it's the data.
Don't just set it and forget it. Come back to the Genlook dashboard after 24 hours of being live. In the Analytics section, look for early indicators of success:
- Engagement Rate: How many visitors on enabled product pages are actually clicking the "Try-On" button?
- Sessions: How many unique try-on sessions have been generated?
Seeing customers actively engage with the tool in the first 24 hours is the strongest signal that you are solving a real friction point in their shopping journey.
Conclusion
By following these 5 steps, you have successfully modernized your Shopify store without a complex IT project or expensive 3D modeling. You are now providing the immersive, confidence-building experience that 2026 shoppers expect.
Ready to get started? Install Genlook on Shopify today.
FAQ
Frequently Asked Questions
How do I add Virtual Try-On to my Shopify store?↓
Follow this 5-step guide: Install the Genlook app, enable products, add the 'Try-On' button to your theme (drag-and-drop), test the feature, and track your analytics. No coding or 3D models required.
Do I need to edit my theme code to add the button?↓
No. In Step 3, we use Shopify's 'App Blocks' system. You can simply drag and drop the Genlook 'Try-On' button directly in your theme editor without touching a single line of code.
Does my product photography need to be standardized?↓
Not strictly. Unlike older solutions that demanded perfect 'ghost mannequin' shots, Genlook's AI is flexible. It works with your existing professional photos, whether they are flat lays or on models.
How soon will I see results?↓
Immediately. As soon as you complete Step 4 and go live, customers can start using it. You should check your Genlook analytics dashboard after 24 hours (Step 5) to see initial engagement data.