Design your own try-on button in Liquid while keeping Genlook’s pre-built try-on modal, using the Genlook JavaScript SDK.
Choose this approach when you want full control over the try-on button’s design and placement, but still want Genlook’s pre-built widget to handle photo upload, generation, and the result screen.You enable the lightweight app embed as usual, skip the button block, and render your own button anywhere in your theme.
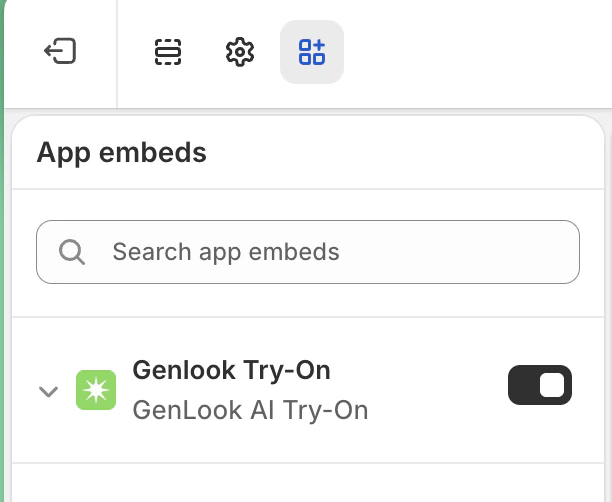
In the Shopify theme editor, open App embeds (bottom of the left sidebar) and toggle on Genlook Try-On. This loads the Genlook SDK on every page and tracks whether try-on is enabled for the current product.
Enable the Genlook Try-On app embed in the theme editor
2
Add your custom button to your product template
Render a button with the genlook-custom-button class anywhere on your product pages and point its click handler at Genlook.cabin.open():
Two conventions make this safe to drop into a global product template:
The genlook-custom-button class. Your button is always rendered and always visible by default. On products where try-on is not enabled, the app embed emits this rule in the page:
So you never need conditional Liquid around your button: it shows everywhere except where try-on is off.
Genlook.cabin.open() launches the try-on modal. If the widget UI has not loaded yet, the SDK fetches it and opens the modal as soon as it is ready.
The mechanism is hide-only. Nothing ever un-hides your button, so never start it at display: none waiting for the widget to reveal it, and never mark your own display as !important (the hide rule would stop working).
The SDK preloads the widget UI in the background on enabled product pages, so the first open() is near-instant for most shoppers. No configuration needed.
The widget’s appearance and behavior come from two layers, and the per-page tag wins for any field it explicitly sets:
Widget Design tab (Genlook app > Widget Design). Store-wide settings: modal color, copy, grammar gender, remaining-try-ons counter. Saved to a shop metafield and delivered on every page by the app embed. Most merchants only ever need this.
genlook-cabin-config script tag (per page). A JSON tag you write by hand in your template to override individual fields on that page only.
The merge is per-field. A per-page theme.color overrides only the color; dashboard copy, gender, and everything else stay untouched. To use the dashboard value for a field, simply omit it from genlook-cabin-config.
By default the SDK preloads the widget UI in the background on enabled product pages so the first open() is near-instant. Set true to skip preloading and load the UI only when a shopper first opens the widget.
Registers a callback that runs once the SDK has initialized. Safe to call before the SDK script has loaded (calls are queued), so use it whenever your code might run early:
window.Genlook.ready(() => { // SDK is initialized; Genlook.cabin is available});
Authenticated fetch through the Shopify app proxy. The base proxy path (/apps/proxy_genlook-x/public) is prepended for you, so pass endpoint paths only: