Install the Genlook virtual try-on app on your Shopify store and add the try-on button to your theme in a few minutes, with no code.
The Genlook widget has two parts in your Shopify theme:
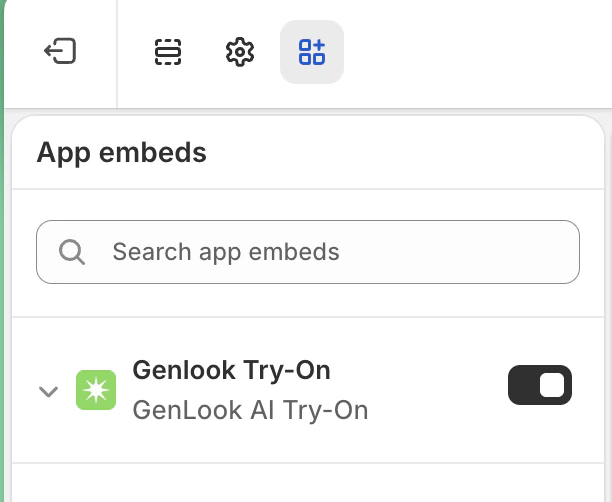
The Genlook Try-On app embed. It loads Genlook and your store-level configuration on every page. The try-on button does not work without it.
The Genlook Try-On Button app block. It renders the actual button on your product pages, and it is where you style the button in the theme editor.
The Genlook app walks you through both steps during onboarding and detects automatically when each one is done. This page covers the same steps in detail, so you can follow along or fix a step that did not stick.
Using an older Shopify 1.0 (vintage) theme that does not support app blocks? Follow the vintage theme guide instead.
Install Genlook from the Shopify App Store and approve the requested permissions.
2
Enable the Genlook Try-On app embed
In your Shopify admin, go to Online Store > Themes and click Customize on your active theme. Open App embeds at the bottom of the left sidebar, find Genlook Try-On, and toggle it on.
Enable the Genlook Try-On app embed in the theme editor
3
Add the Genlook Try-On Button block
Still in the theme editor, use the dropdown at the top to open a Products template (for example, Default product). In the left sidebar, click Add block inside the product information section and select Genlook Try-On Button.
Make sure you are editing a product template. The block only renders on product pages.
4
Position the button
Drag the block to where shoppers decide whether to buy. Right above or below the Add to cart button drives the highest engagement in our data.
5
Save
Click Save. If your store uses several product templates, repeat for each template that should show the button.
If you add the block but forget the app embed, the button cannot work. In the theme editor Genlook shows a notice (“Enable the Genlook app embed…”) in that case, and on your live store the dead button hides itself automatically.